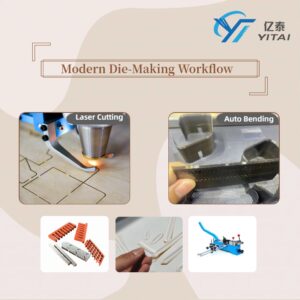
How to Make a Die Board Using a Die Laser Cutting Machine & Auto Blade Bending Machine
In modern die making, combining a die board laser cutting machine with an auto blade bending machine has become the standard solution for producing accurate, stable flatbed cutting dies.
Compared with traditional manual methods, this workflow greatly improves precision, efficiency, and consistency, especially for complex die shapes and medium-to-large production volumes.
Below is a practical, step-by-step guide explaining how flatbed cutting dies are made using these two core machines.
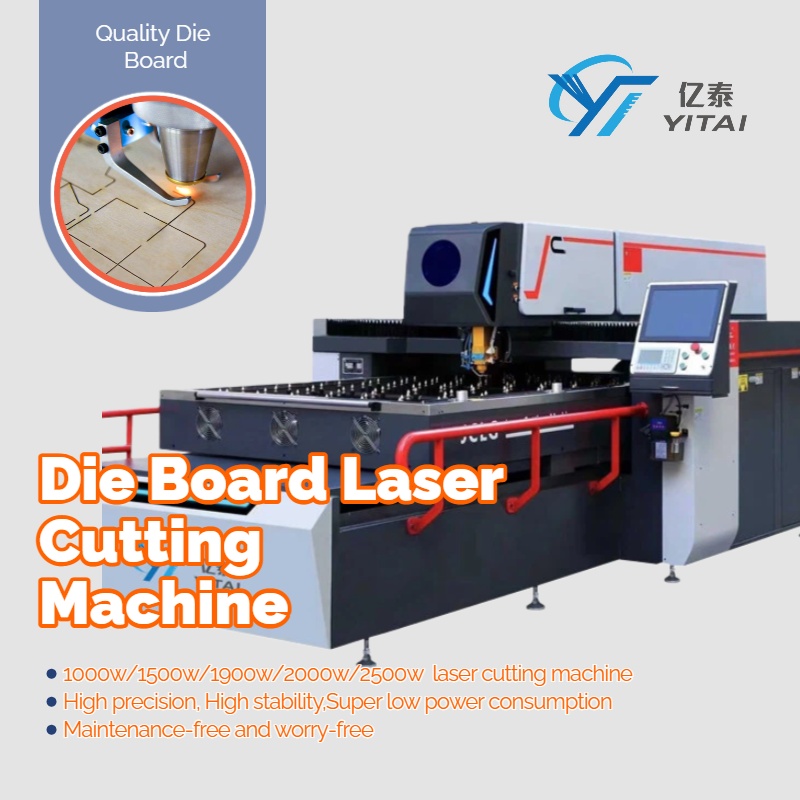
Step 1: Cutting the Die Board with a Die Laser Cutting Machine
The first step is to prepare the die board plywood, usually with a thickness ranging from 9 mm to 22 mm, depending on:
- The type of die being produced
- Blade height and cutting pressure requirements
- Customer or application specifications
Design the die layout
Workflow:
- Design the die layout
Create the die-cut drawing using AutoCAD, CDR, or AI.
Once completed, export the file in DXF format, which is widely compatible with die laser cutting software. - Import the file and set parameters
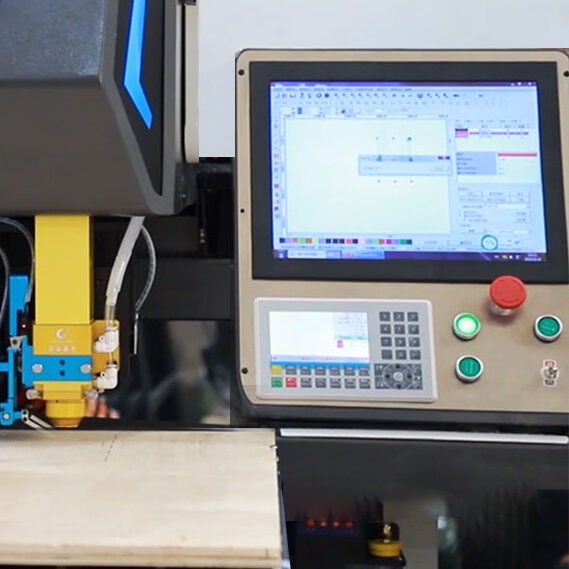
- Power on the die laser cutting machine and the PC
- Open the laser cutting software (e.g. PowerCut)
- Import the DXF file
- Set cutting parameters such as laser power, speed, and focus according to plywood thickness
- Position and start cutting
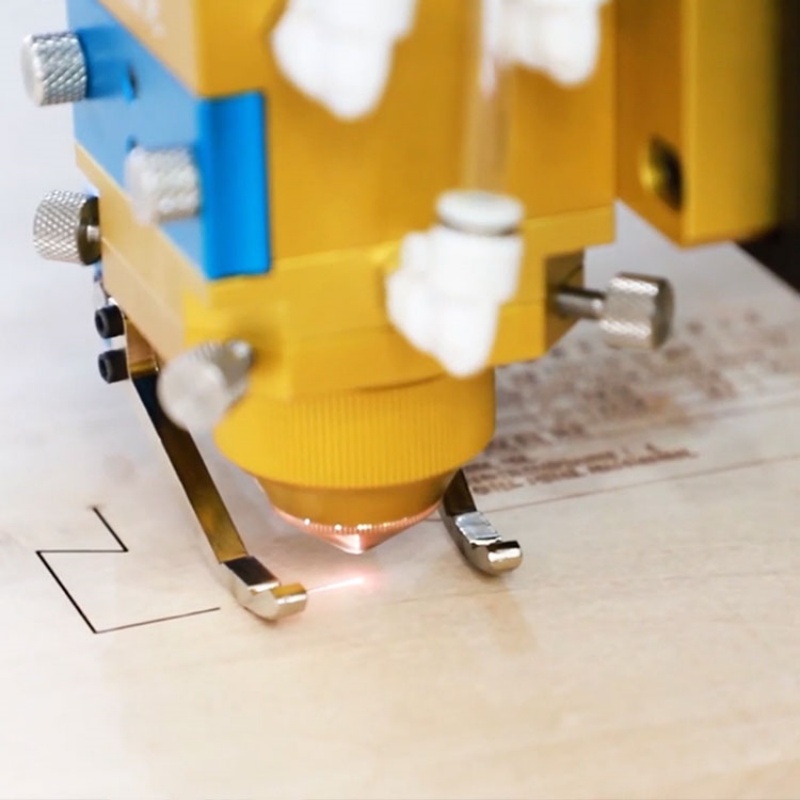
- Use the remote controller to move the laser head to the starting point
- Run a frame check to ensure the cutting path and stroke are correct
- Press “Start” to begin laser cutting
The laser machine precisely cuts the kerf (rule slot), ensuring accurate width, depth, and verticality for blade insertion.
Die Board Laser Cutting
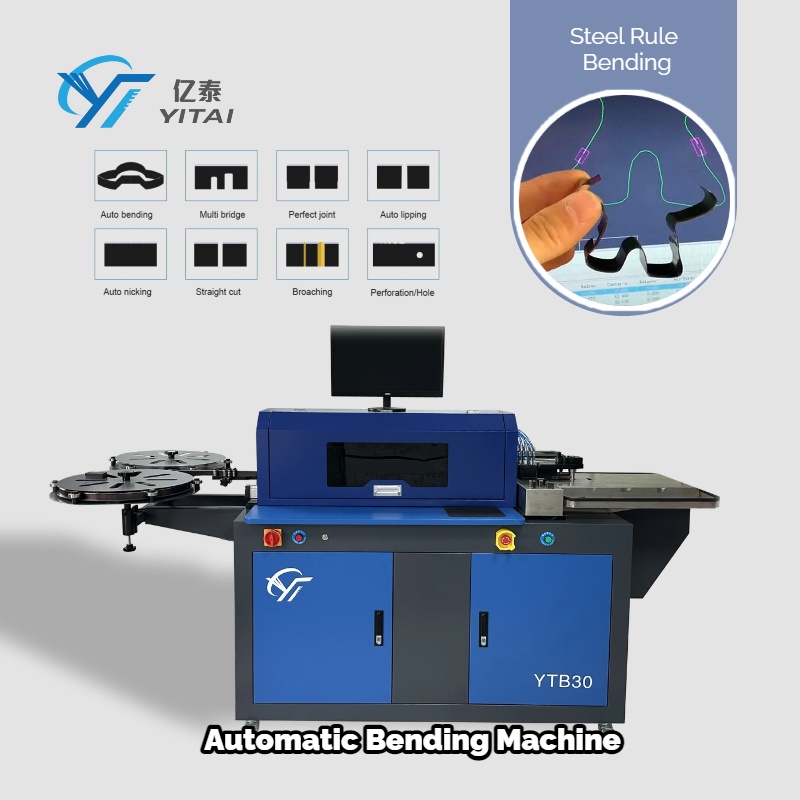
Step 2: Processing Cutting Rules with an Auto Blade Bending Machine
Once the die board is prepared, the next step is processing the cutting rules and creasing rules.
Workflow:
- Use the same die drawing
The DXF file used for laser cutting can also be used for the auto blade bending machine, ensuring perfect consistency between board slots and blade shape. - Load the drawing into bending software
- Power on the auto blade bending machine and PC
- Open the bending software
- Import the DXF file
- Set parameters based on the cutting rule specifications (rule height, thickness, bending angle, notch type)
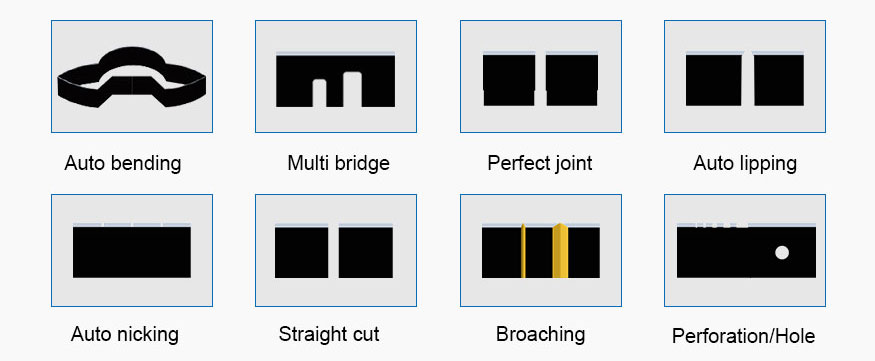
- Automatic bending and cutting
The auto bender automatically performs:- Cutting
- Bending
- Notching (if required)
This process ensures high bending accuracy, repeatability, and significantly reduces manual labor.
Step 3: Fine Adjustment Using Manual Die Making Tools
Although an auto blade bending machine handles most rule processing tasks, manual tools are still essential for certain situations.
Especially for:
- Very small arcs
- Sharp angles
- Complex or irregular die shapes
Common manual tools include:
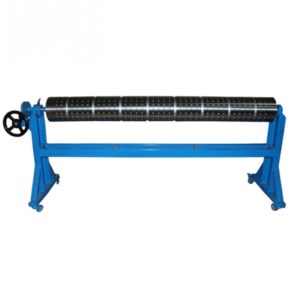
- Manual bender
- Manual notcher
- Manual lipping machine
- Manual cutter
- Rule puller
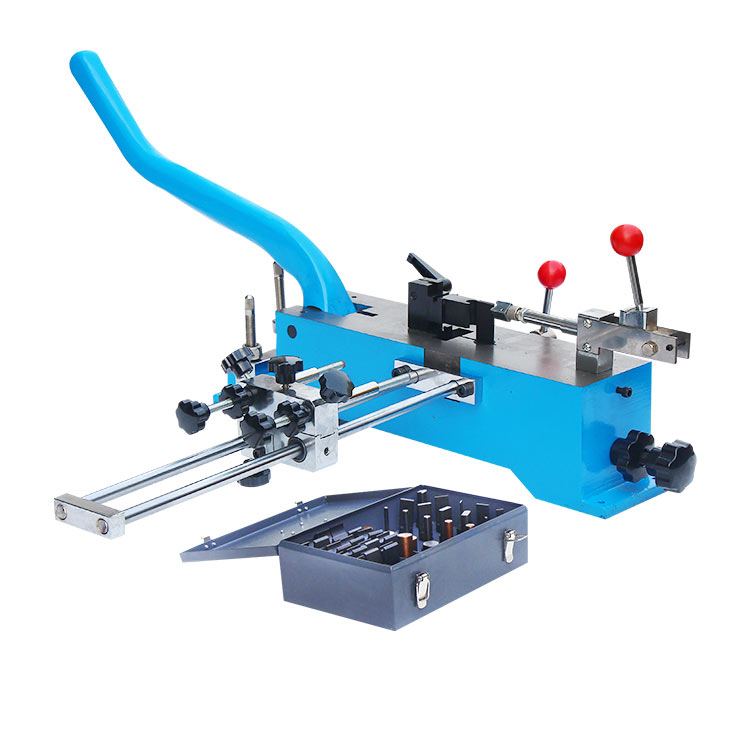
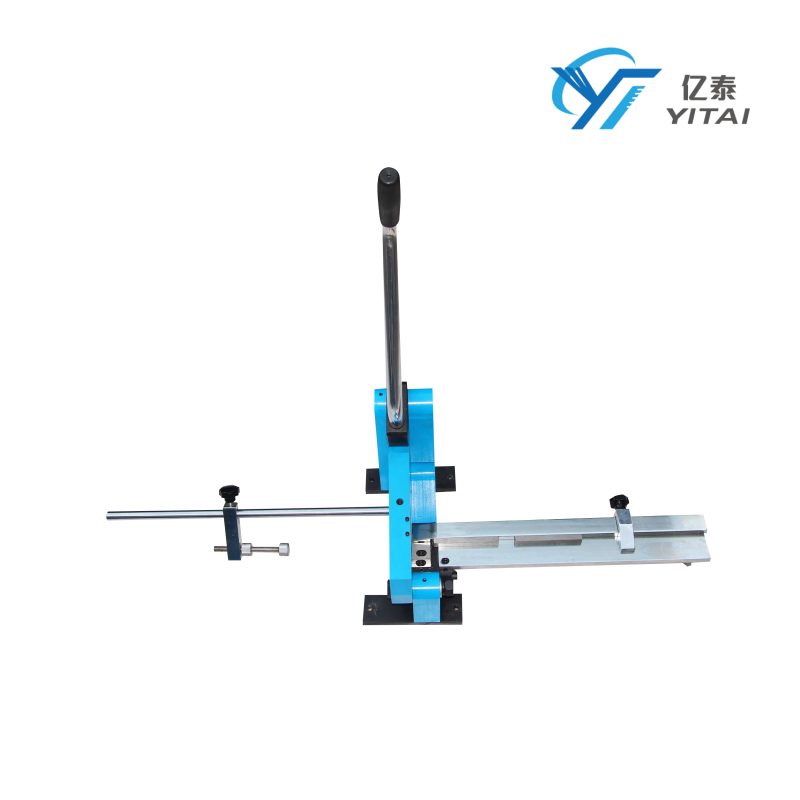
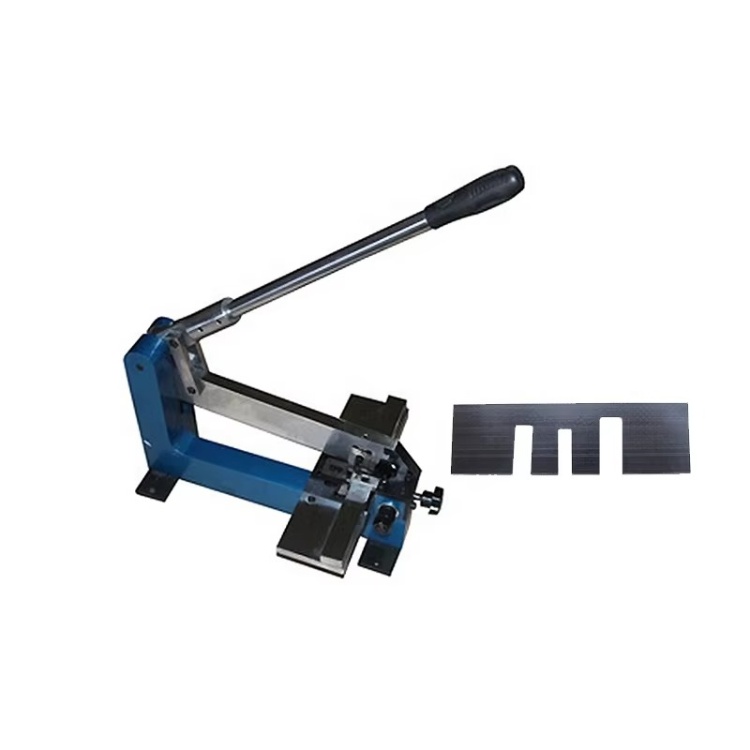

These tools allow operators to make fine adjustments so the cutting rules can be inserted smoothly and firmly into the laser-cut kerf.
This step highlights an important reality:
Automatic bending improves efficiency, but skilled manual adjustment ensures final quality.
Step 4: Inserting Cutting Rules into the Die Board
The final step is assembling the die.
- Insert the cutting rules and creasing rules into the kerfs cut by the die laser cutting machine
- Adjust blade height and alignment
- Ensure the rules sit firmly and vertically in the die board plywood
Once completed, the flatbed cutting die is ready for testing and production.

Conclusion
By combining a die laser cutting machine with an auto blade bending machine, die makers can achieve:
- Higher precision
- Faster production
- Better consistency
- Reduced labor cost
This 4-step workflow has become the mainstream process in modern die shops, especially for packaging, printing, and high-accuracy die-cutting applications.
While automation handles most of the work, experienced operators and proper manual tools remain critical for achieving the best final results.